
Leak-Proof Drinkware Lids: What Buyers Should Verify Before Tooling

Direct answer (51 words): A leak-proof lid is a system, not a single gasket. Before tooling, buyers should freeze the use case, closure architecture, seal geometry, venting, materials, tolerances, assembly method, cleaning access, and validation protocol. Prototype tests should cover realistic orientations, temperatures, beverages, repeated cycles, and production variation rather than one favorable bench test.
For buyers developing a custom tumbler, bottle, mug, or flask, the lid often carries more technical and commercial risk than the body. A stainless vessel may be relatively stable, while the lid combines molded parts, interfaces, moving features, elastomer seals, user behavior, and cleaning requirements. Each interface can become a leak path.
That makes leak proof drinkware lid design a pre-tooling discipline. Once steel is cut, changing a sealing land, thread, snap, vent, or gasket groove may require costly tool modification. A clear verification plan before tooling is therefore more valuable than a broad “100% leak-proof” promise.
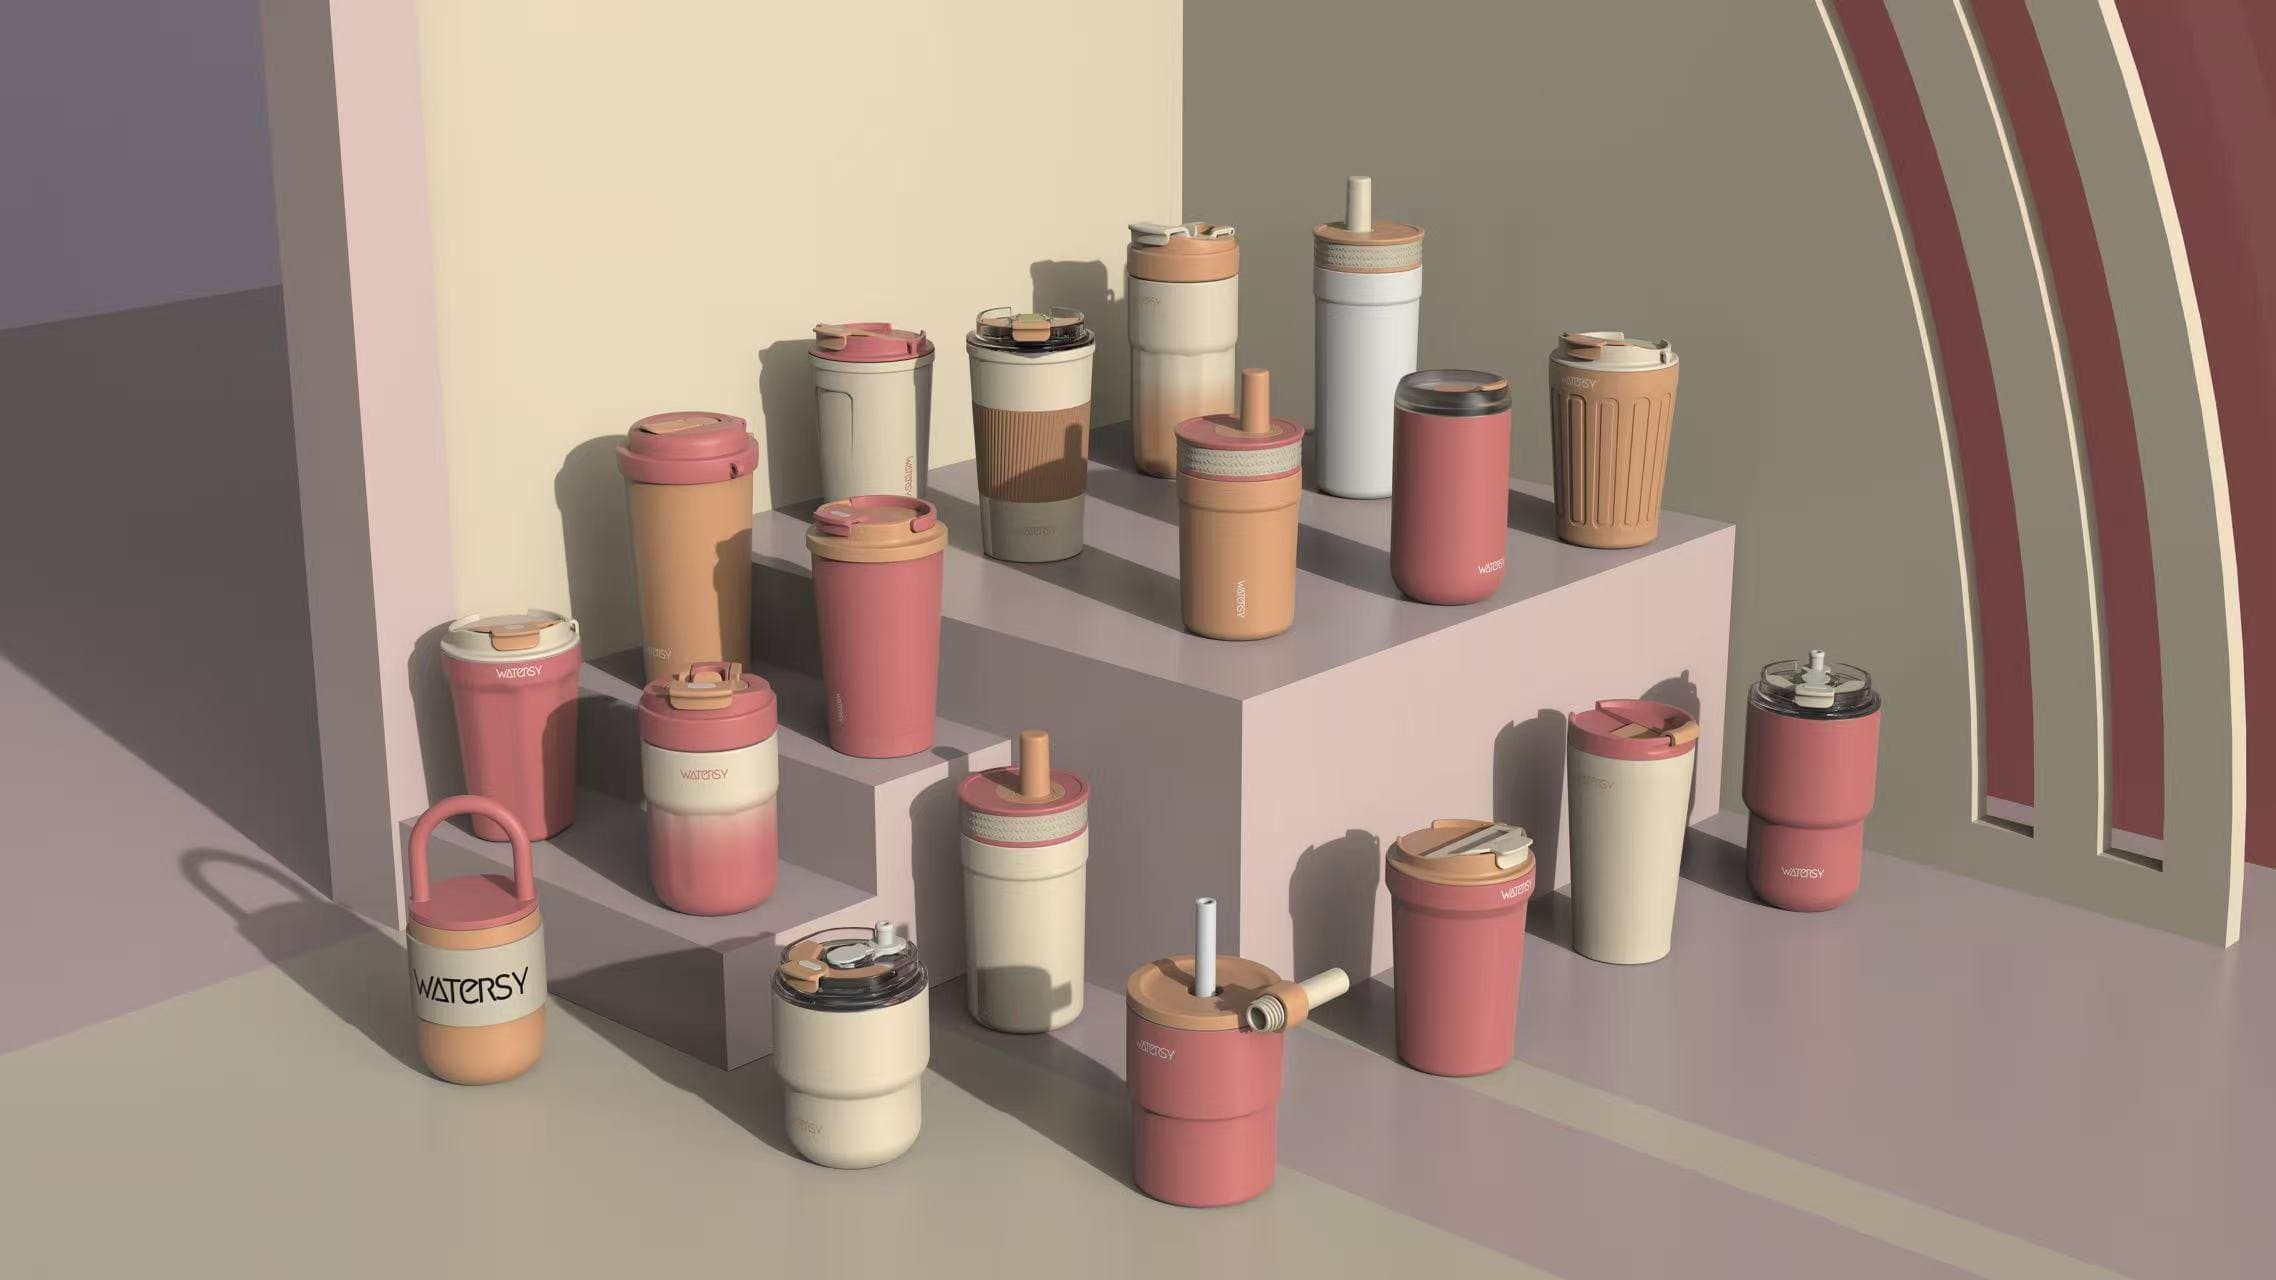
First define what “leak-proof” means for this product
“Leak-proof” has no useful engineering meaning until the test conditions are written down. A commuter tumbler with a sliding drink opening, a child’s straw bottle, and a sealed sports bottle do not share the same closure architecture or usage pattern.
Start by defining the claim boundary.
Questions that belong in the brief
- Is the product expected to remain sealed when upright only, on its side, or fully inverted?
- Is it intended for a backpack, cup holder, desktop, gym bag, or delivery carton?
- Will it hold still liquids only, or could users add carbonated beverages?
- What fill temperature range is intended?
- Must the lid resist leakage immediately after filling, after cooling, or after agitation?
- Is the drinking interface a screw cap, flip spout, straw valve, slider, push button, or combination?
- How many open-close and disassembly cycles should the validation plan cover?
- Which parts must users remove for cleaning and then reinstall?
Do not permit a supplier to convert an undefined claim into a convenient test. The buyer should approve the method, sample condition, acceptance criteria, and exclusions.

The lid is a chain of sealing interfaces
A lid can fail even when its main gasket is sound. Map the liquid path and every boundary around it.
Typical interfaces include:
- lid-to-vessel thread or press interface;
- primary gasket against the vessel rim or sealing land;
- drink opening and its plug, slider, valve, or flap;
- straw or vent penetration;
- multi-part lid joints;
- button, hinge, axle, or decorative insert openings;
- any interface disturbed during cleaning or assembly.
The buyer and supplier should mark these zones on a section drawing. For each zone, record the sealing mechanism, critical dimensions, material pair, assembly state, and test condition. This “leak-path map” turns a vague requirement into an engineering review.

What buyers should verify in the design
Seal compression and contact
An elastomer seal works only when the geometry creates appropriate and repeatable contact. Parker’s O-Ring guidance describes compression force as the force required to compress an O-ring enough to maintain an adequate sealing line of contact. It also notes that compression depends on factors including cross-section, circumference, hardness, and squeeze.[1]
A drinkware gasket is not necessarily a standard O-ring, but the engineering principle transfers: nominal dimensions alone are insufficient. Ask for a cross-section showing the seal in its free and assembled states. Verify:
- how the gasket is retained;
- where it contacts the lid and vessel;
- whether compression remains adequate across tolerance limits;
- whether the user can twist, roll, pinch, or omit it during reassembly;
- whether flash, parting lines, sinks, or warpage cross the sealing path;
- whether excessive closure force is required to achieve the seal.
Too little engagement may leave a leak path. Too much can increase closure force, distort components, or create durability concerns. The target should be engineered for the selected geometry and material, then proven by prototypes and production-representative samples.
Closure and user feedback
The closure must consistently bring the seal into its intended position. Review thread lead, stop position, snap engagement, cam action, latch retention, and the force a user experiences.
For snap features, Covestro’s design guide explains that the feature deflects during joining and should return toward a low-stress condition after engagement. It also identifies assembly load, assembly force, geometry, material strain, and repeated separation as design considerations.[2] In a lid, this means a snap that works once in a soft prototype is not yet production-ready.
Verify that users receive clear feedback—such as a defined stop, click, or visible position—without making the closure unreasonably difficult to operate. Test with users who represent the target audience rather than only the engineering team.
Venting and pressure assumptions
Flow and sealing interact. A vent can improve drinking behavior but also adds another potential leak path. A hot fill can create pressure changes as temperature changes; carbonated liquids can create a different risk profile. Do not assume a still-water inversion test covers these scenarios.
The product brief should explicitly state intended and prohibited contents. If carbonation, hot filling, or pressure retention is in scope, the design and test plan require specialized engineering review. Avoid adding an unverified pressure-related claim to a general-purpose lid.
Tolerance stack and molding variation
The seal is created by multiple dimensions, not one drawing value. A stack may include vessel-rim geometry, lid flatness, thread position, gasket thickness, groove depth, insert position, and molded-part shrinkage or warpage.
Review the worst credible combinations, then identify dimensions that are critical to sealing. Put those dimensions into the drawing and control plan. A prototype made from one favorable combination cannot represent normal production variation.
A useful pre-tooling conversation covers:
- critical-to-quality dimensions and datums;
- expected manufacturing variation;
- measurement methods and gauge access;
- cavity-to-cavity comparison for multi-cavity tools;
- how resin or color changes will be assessed;
- what triggers revalidation after tool maintenance or process change.
Materials by function
The rigid lid, transparent element, flexible seal, and moving feature may need different materials. Watersy works with PP, Tritan, and silicone lid parts and components, depending on the selected design.[W1] That capability does not mean those materials are interchangeable or automatically suitable for every temperature, beverage, market, or claim.
For each component, specify:
- exact material designation agreed for the project;
- functional reason for selection;
- color and appearance requirements;
- intended temperature and cleaning conditions;
- chemical/contact review required for the target use;
- supplier documentation and change-notification rules.
Regulatory suitability must be assessed for the finished product and destination market. Do not infer universal compliance from a generic resin family name.
Cleaning, assembly, and lost-part risk
A lid that seals in the factory can leak after the consumer removes the gasket and reinstalls it incorrectly. Review cleanability and mistake-proofing before tooling.
Check whether users can:
- see and reach residue-prone channels;
- remove components without tools, if removal is intended;
- identify the correct gasket orientation;
- reinstall the seal without stretching, twisting, or leaving it partly outside the groove;
- confirm that a slider, valve, or latch is fully closed;
- replace a wear part where the product strategy requires it.
The industrial design, instruction copy, and validation plan should address foreseeable reassembly errors.
Pre-tooling decision table
| Decision | What the buyer must approve | Evidence to request before tool release | Red flag |
|---|---|---|---|
| Leak claim | Orientations, time, temperature, contents, motion, exclusions | Written validation protocol | “Leak-proof” with no defined conditions |
| Closure architecture | Thread, snap, slider, valve, vent, and user sequence | Section views and working prototype | Only exterior renderings are available |
| Primary seal | Material, cross-section, groove, contact land, retention | Free/assembled section and tolerance review | Gasket added late to rescue the design |
| Tolerance strategy | Critical dimensions and stack limits | Dimensioned drawings and measurement plan | Nominal CAD fit treated as proof |
| Mold strategy | Parting lines, gates, ejection, cavities, inserts | DFM review and tool concept | Parting line or flash risk crosses seal land |
| Cleaning | Disassembly, access, orientation, instructions | Cleaning trial with representative users | Hidden liquid traps or easily misinstalled seal |
| Validation | Prototype, pilot, and production-stage tests | Approved test matrix and records format | One hand-picked sample tested once |
| Change control | Material, cavity, process, tool-repair rules | Written approval and revalidation triggers | Supplier can substitute without notice |
Validation should happen in stages
Stage 1: architecture prototypes
Use early prototypes to understand the closure sequence, seal location, vent path, drink flow, disassembly, and user feedback. Prototype materials or processes may not reproduce molded-part behavior, so treat this stage as learning—not production qualification.
Record failures by leak path. “Pass/fail” alone wastes information.
Stage 2: tooling-trial parts
When molded parts become available, check dimensions, flatness, warpage, surface condition, assembly force, gasket seating, and interference. Compare tool cavities where applicable. Run the agreed leak protocol across representative tolerance conditions rather than selecting only the best-looking parts.
Stage 3: pilot assembly
A lid is also an assembly process. Verify component orientation, gasket installation, closure engagement, visual checks, and test-fixture repeatability. Include normal operators and normal work instructions. A design that depends on exceptional manual adjustment is not robust.
Stage 4: production verification and change control
Define when tests happen and what records are retained. Reassess after changes to tooling, cavity, resin, gasket, component supplier, assembly method, or critical settings. The goal is not to promise a fictional universal leakage rate; it is to establish an agreed control plan and detect meaningful drift.
Watersy’s confirmed capabilities cover lid molding, sealing components, assembly, leak testing, and final packaging inspection. Its 27 injection-molding machines primarily support lids, lid bodies, and custom components.[W1][W2] Test methods and acceptance criteria still need to be agreed per product—there is no single protocol that proves every lid under every use condition.
Buyer’s leak-proof lid verification checklist
Before design freeze
- Intended users and scenarios are documented.
- Allowed and excluded beverages are defined.
- Fill temperature, orientation, duration, and motion are defined.
- Every potential leak path is marked on a section drawing.
- The primary seal has a retention and compression strategy.
- Venting and pressure assumptions are reviewed.
- Cleaning and reassembly steps are tested with representative users.
Before tooling authorization
- CAD and drawings identify critical-to-quality dimensions.
- Tolerance-stack review covers vessel, lid, gasket, and moving parts.
- DFM review addresses gates, parting lines, ejection, sinks, and warpage near seals.
- Material callouts are component-specific.
- Prototype findings and open risks are documented.
- Tool ownership, approved changes, and confidentiality terms are written.
- The buyer and supplier have signed off the validation protocol.
Before mass-production release
- Tool-trial parts have been measured by cavity where relevant.
- Leak tests use production-representative parts and assembly.
- Tests cover the agreed orientations, temperatures, dwell times, and cycles.
- Failure location and condition—not only pass/fail—are recorded.
- Gasket omission or incorrect installation is detectable where feasible.
- Work instructions define seal installation and closure checks.
- Change-control and revalidation triggers are agreed.
A manufacturer’s view: tooling follows a closed specification
From Watersy’s manufacturing perspective, the best time to resolve leak risk is before tooling approval. The review should bring product intent, lid architecture, material selection, tolerance stack, mold feasibility, assembly, and leak testing into one controlled specification.
Watersy has 27 injection-molding machines supporting lids and custom components, plus capabilities in lid molding, seal integration, assembly, leak testing, private molds, and NDA support.[W1][W2] For a private structure, confidentiality and ownership terms should be documented alongside the technical brief—not after drawings or tooling files begin to move.
Buyers should ask the factory to challenge the brief. If a drink opening, decorative feature, vent, or cleaning requirement conflicts with sealing robustness, that trade-off should be visible before steel is cut.
Common pre-tooling mistakes
Treating the gasket as the entire solution
The gasket cannot correct every problem in the closure, vessel rim, molded geometry, vent, or assembly. Review the complete sealing system.
Approving appearance without approving section geometry
A rendering can communicate style but not seal engagement. Require section views, critical dimensions, and functional prototypes.
Testing only at room temperature with still water
That may be valid for a narrow claim, but not for a broader one. Match validation to the intended temperature, contents, handling, and duration.
Ignoring consumer cleaning behavior
A removable seal creates a reassembly step. A non-removable detail can create a cleaning challenge. Both choices need deliberate validation.
Freezing the tool before the test plan
If nobody knows what the product must pass, tooling approval is premature. Establish acceptance criteria first so the design can be reviewed against them.
Tool the claim you can verify
Reliable leak proof drinkware lid design begins with a bounded claim and ends with production controls. Between those points, buyers need a leak-path map, engineered seal contact, closure feedback, tolerance review, suitable component materials, cleanability, staged prototypes, and an agreed test protocol.
The objective is not an unsupported promise that no lid can ever leak. It is a design and manufacturing package that performs consistently within stated conditions—and gives both buyer and factory a clear way to identify, correct, and prevent failures.
Developing a custom lid? Discuss your lid and tooling brief with Watersy. Bring your use cases, closure concept, beverage and temperature assumptions, cleaning requirements, target claim, and validation expectations so the team can review moldability, sealing, assembly, leak testing, private tooling, and NDA needs before tooling release.
Related guides